 PH
PHHow to create Multiboot USB Disk in Windows?
What to do after making your multiboot USB?
Now that you have your multiboot USB up and running, it’s time to see the action. Plug the flash drive in your computer and set the boot device to USB. Most desktops and laptops have a dedicated key to trigger the boot menu. After the multiboot USB loads, choose the desired operating system from the list.
- Download You do not have permission to view the full content of this post. Log in or register now.. Extract this file.
- Connect the flash drive to your computer.
- Open WinSetupFromUSB. Open the 32-bit and 64-bit version according to your OS. It will work without any installation.
- Make sure your flash drive is listed and selected in the drop-down menu. Click Refresh, if it is not on the list.
- Tick Auto format it with FBinst.
Note: You have to tick this option only for the first ISO installation. Choose FAT32 if your computer is set to boot using UEFI mode or if UEFI sounds strange to your ears. Else, go with the NTFS option.
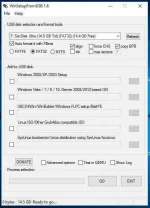
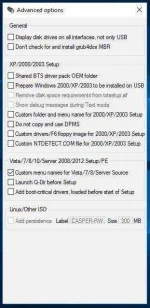
- Click Advanced options.
- Tick the Custom menu names for Vista/7/8/Server Source checkbox. Click the Cross (X) button to exit Advanced Options.
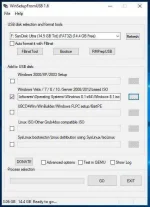
- To add the ISO file for your multiboot USB, tick the checkbox corresponding to OS under Add to USB disk subheading.
For example, I am using the Windows 8.1 ISO.
Note: If the size of your ISO is larger than 4 Gb, it will show a message to split the file into parts. This is because you’ve chosen the FAT32 option. Click OK.
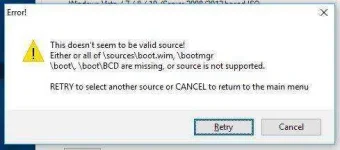
 Note: WinSetupFromUSB doesn’t support dual ISOs i.e. it can’t have 32-bit and 64bit version in a single ISO. It will show an error message.
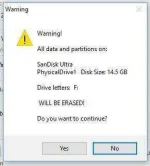
- Click GO. A data deletion warning message will be displayed. This is because you’ve chosen to format the flash drive. Click Yes.
Note: Do remember to check the flash drive name before clicking Yes. Else, you’ll end up formatting some other connected storage media.
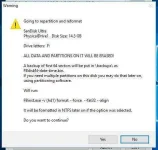
- Another warning message will be displayed telling you that all the partitions will be erased. Click Yes.
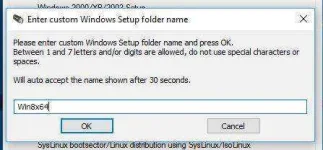
- Next, it will ask for the folder name. Type the desired one in 30 seconds or it’ll auto select. Click Ok.
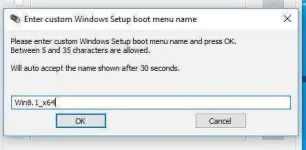
- It will ask for the boot menu name. This will appear when you run the multiboot USB on some PC and choose an operating system. Type your desired name like Windows 8.1 64-bit. Click Ok.
- The process will take few minutes to finish.
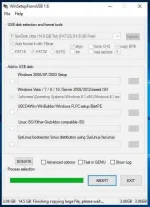

- Click EXIT to finish.
- Start the tool again.
- Select your flash drive in the drop-down menu.
- Click Advanced Options and look for Custom menu names for Vista/7/8/10/Server Source.
- Don’t Click Auto format with FBinst. That’s because it will remove your previous ISO file.
- Add the second ISO file for your multiboot USB.
- Click GO and repeat the steps mentioned earlier.
What to do after making your multiboot USB?
Now that you have your multiboot USB up and running, it’s time to see the action. Plug the flash drive in your computer and set the boot device to USB. Most desktops and laptops have a dedicated key to trigger the boot menu. After the multiboot USB loads, choose the desired operating system from the list.