PH
PH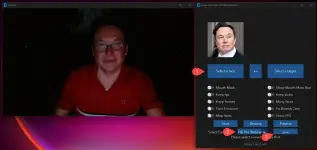 Deep-Live-Cam
Deep-Live-CamHow to Install & Use Deep-Live-Cam on Windows
Real-time AI face swap using only a single photo. Here's the setup guide from ZIP download to running the app.
Real-time AI face swap using only a single photo. Here's the setup guide from ZIP download to running the app.
Setup GUIDE (Windows)
Step 1 — Install the requirements
Download and install all of these first, just click Next/Install on everything:
- Python 3.11 → You do not have permission to view the full content of this post.
Log in or register now. —
 on the first screen check "Add Python to PATH" before clicking Install
 - Visual Studio C++ Build Tools → You do not have permission to view the full content of this post. Log in or register now. — when it opens check "Desktop development with C++" then click Install
- FFmpeg open CMD - Start Menu Windows, search CMD, open it, paste this and hit Enter: winget install Gyan.FFmpeg
Step 2 — Download Deep-Live-Cam
- Go to github com/häçksider/Deep-Live-Cam
- Click the green Code button → Download ZIP
- Right-click the ZIP → Extract All → extract to somewhere easy like C:\DeepLiveCam
Download both files and put them inside the models folder in the extracted folder:
find this file and download
GFPGANv1.4.pth
inswapper_128_fp16.onnx
in this You do not have permission to view the full content of this post. Log in or register now.
Your folder should look like:
C:\DeepLiveCam\
models\
GFPGANv1.4.pth
inswapper_128_fp16.onnx
Step 4 — Open CMD inside the folder
- Open the extracted folder in File Explorer
- Click the address bar at the top where the file located
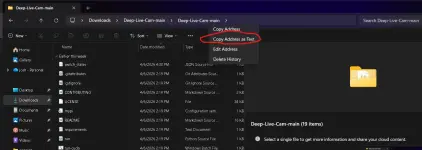
- Type cmd and press Enter — a black window opens
- You should see the folder path in the CMD window
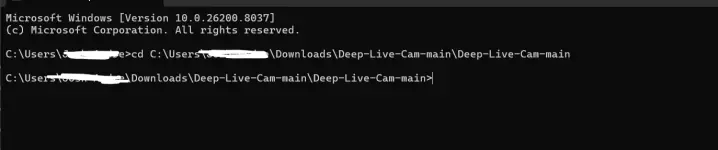
Copy and paste these one by one into CMD, pressing Enter after each:
python -m venv venv
venv\Scripts\activate
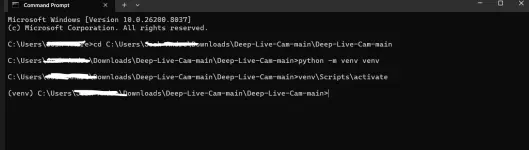
You should now see (venv) at the start of the line — that means it worked.
type in cmd : pip install -r requirements.txt and enter
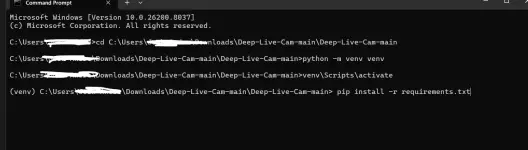
This will take a while — wait until it finishes completely.
Step 6 — Run it
Paste this into CMD and hit Enter:
python run.py
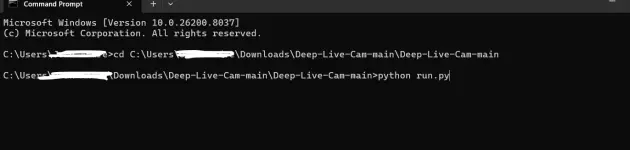
The app window should open. If it asks to download models, let it finish (~300MB).
Step 7 — Using it
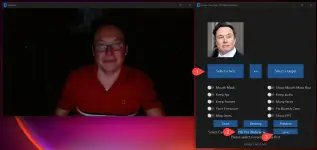
- Click Select Face → pick a photo of the face you want to use
- Click Live to start the webcam swap
- Wait 10–30 seconds for the preview to appear
- Open the folder in File Explorer
- Click address bar → type cmd → Enter
- Paste: python run.py
Enjoy mga ka PHC!!