PH
PH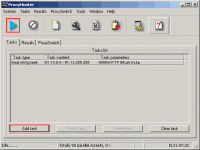
Press the “Add task” button to add a new scan task.
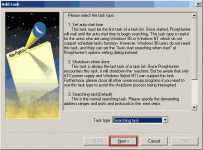
Choose “Searching task” for task type and press “next”. You will see this dialog.
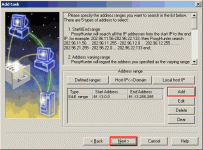
Add IP ranges to scan using “add” button. You will see this dialog “Add searching IP range”.
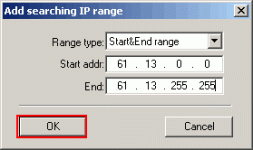
Choose “start-end” in the “range type” and enter IP addresses in the “Start addr” and “End addr”. For example, you can use 144.92.0.0 as “Start addr” and 144.92.255.255 as “End addr” to scan free proxies in US Wisconsin University. If you do not know the IP range, please refer to here. Press “next” after adding the IP range you want to scan. Then you will see this dialog.
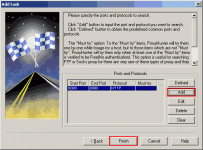
Add ports to scan using “add” button. You will see this dialog “Add port and protocol”.
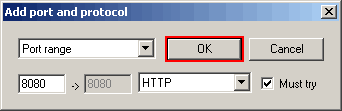
Choose the “port range”(actually it’s “single port”, it’s a bug) and fill in the port. Press “OK” after doing that. You will have to use this dialog several times to add these commonly used ports: 8080,80,3128,1080. The more ports you add the more proxies you will find, but too many ports will make the scan process lengthy.
Press “Finish” in “Add scan task 3” and you will return to the “Main menu”. Now you can press the “Start scan” button and go to sleep
 Next morning you will find that you have got a lot of proxies in the “Result manager” page.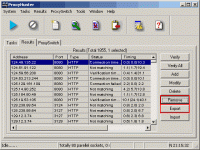
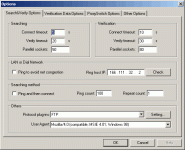
Now you can output the result and test it with other tools. And I should tell you that a majority of the result is trashy. The picture above shows the test result by Proxy Hunter. Tip: You can add the “parellel socks” (max thread) number to speed up your searching in the “Setting menu”.