Myexistence
Honorary Poster
Interested in learning Stable Diffusion? This guide is perfect for those who have no prior experience with Stable Diffusion or other AI image generators.
You'll receive an introduction to Stable Diffusion and some essential tips for utilizing it effectively.
The best part? It's freely accessible to everyone and designed for speed—yes, you can even run it on your own computer.
Running it on your PC is also a viable choice, especially if you have a decent NVIDIA GPU with at least 4GB VRAM.
Why Use an Advanced GUI? A Plethora of Tools at Your Disposal
With an advanced GUI, you gain access to a wide array of tools, including:
You do not have permission to view the full content of this post. Log in or register now.
Step 2: Sign in to your Google Account to run this notebook.
Step 3: Click the Connect button in the top right corner to establish a connection.
Step 4: Once the notebook is connected, configure the following options before running it:
Step 4: Click the Play button and scroll down until you reach the log section. Wait a few minutes until you see the link below.

Step 5: Click the first link to access the Automatic1111 GUI.

Step 6: Congratulations, you're all set up!
Step 1: Select your preferred Stable Diffusion Model (since we chose Rev Animated v.1.2.1, it's the default model we'll use).

Step 2: Adjust Clip Skip to 2.

Step 3: Enter your prompt.
Step 4: Provide a negative prompt.
Step 5: Customize the following settings to your preference:
- Sampling method: DPM++v SDE Karras

- Sampling steps: Choose between 20 to 30

- Set the image's width and height: 512 x 512, 512 x 768, or 540 x 960

- For multiple images in one go, adjust the batch count accordingly.

- Set CFG scale between 6 to 8.

Step 6: Click the generate button.
Step 7: Wait for the image to be generated, and voila!

Step 8: If you're satisfied with the result, you can save the image by clicking the save button below and then download it.
Enjoy the Art of Image Generation!
You'll receive an introduction to Stable Diffusion and some essential tips for utilizing it effectively.
Stable Diffusion AI
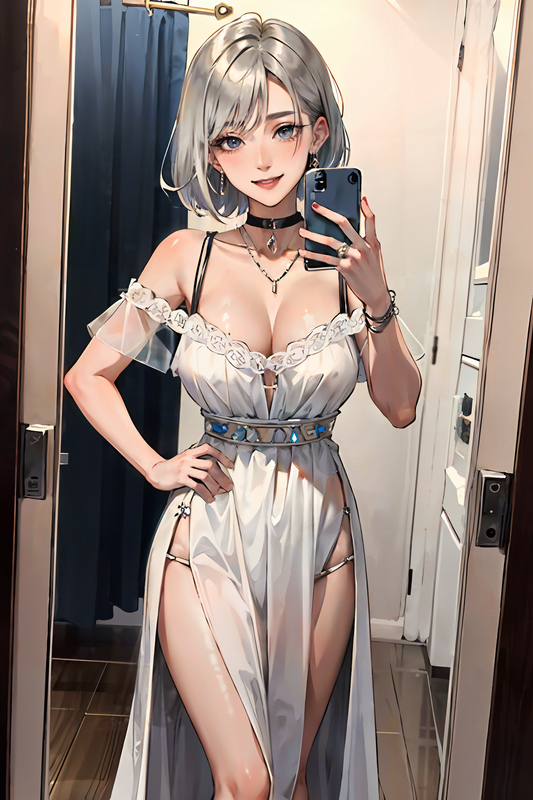
Stable Diffusion AI is a latent diffusion AI model that produces visually appealing images. These images can range from photorealistic ones resembling camera captures to artistic creations reminiscent of professional artwork.The best part? It's freely accessible to everyone and designed for speed—yes, you can even run it on your own computer.
Getting Started with Image Generation
Online Generator
For absolute beginners, I recommend using the user-friendly online generator. You can start generating images without the need for a complicated setup.Advanced GUI
However, if you outgrow the limitations of free online generators, you can explore a more advanced Graphical User Interface (GUI). AUTOMATIC1111 is a powerful and popular option that I personally use.Running it on your PC is also a viable choice, especially if you have a decent NVIDIA GPU with at least 4GB VRAM.
Why Use an Advanced GUI? A Plethora of Tools at Your Disposal
With an advanced GUI, you gain access to a wide array of tools, including:
- Advanced prompting techniques
- Inpainting to regenerate specific parts of an image
- Image-to-image generation based on an input image
- Image editing by providing instructions
How to Run Automatic1111 on Google Colab?
Step 1: Open the Google Colab Notebook (the most stable notebook for the free tier version).You do not have permission to view the full content of this post. Log in or register now.
Step 2: Sign in to your Google Account to run this notebook.
Step 3: Click the Connect button in the top right corner to establish a connection.
Step 4: Once the notebook is connected, configure the following options before running it:
- Choose the desired model from the Choose Model section (I recommend RevAnimated v.1.2.1).
- Uncheck additional networks in the Extension section (not needed for now).
- Leave the remaining settings as default.
Step 4: Click the Play button and scroll down until you reach the log section. Wait a few minutes until you see the link below.
Step 5: Click the first link to access the Automatic1111 GUI.
Step 6: Congratulations, you're all set up!
How to Use Automatic1111 Stable Diffusion?
Step 1: Select your preferred Stable Diffusion Model (since we chose Rev Animated v.1.2.1, it's the default model we'll use).
Step 2: Adjust Clip Skip to 2.
Step 3: Enter your prompt.
Spoiler contents are visible only to Established Members.
Step 4: Provide a negative prompt.
Spoiler contents are visible only to Established Members.
Step 5: Customize the following settings to your preference:
- Sampling method: DPM++v SDE Karras
- Sampling steps: Choose between 20 to 30
- Set the image's width and height: 512 x 512, 512 x 768, or 540 x 960
- For multiple images in one go, adjust the batch count accordingly.
- Set CFG scale between 6 to 8.
Step 6: Click the generate button.
Step 7: Wait for the image to be generated, and voila!
Step 8: If you're satisfied with the result, you can save the image by clicking the save button below and then download it.
Enjoy the Art of Image Generation!

.webp")


")

