 PH
PHitsmeRonjie
Forum Expert
Update: 01/29/2023
see attached video¹ - Sample output
see attached video² - Check if webhook is actually working in Dialogflow.
see attached video³ - Check if AutoResponder is working.
- Unobfuscated code uploaded.
- Added few steps to Dialogflow.
- Added media to check if webhook is working in Dialogflow.
- Added media to check if the AutoResponder is working.
Requirements:
- Android Phone
- Messenger Account - you can use dummy account
- AutoResponder - You do not have permission to view the full content of this post.
Log in or register now.
Spoiler contents are visible only to Established Members.
- Dialogflow by Google - You do not have permission to view the full content of this post. Log in or register now.
- OPENAI API - already added to the code
- Replit - You do not have permission to view the full content of this post. Log in or register now.
- Script - You do not have permission to view the full content of this post.
Log in or register now.
Spoiler contents are visible only to Established Members.
Steps:
Setting up Replit- Create an account.
- Click Create
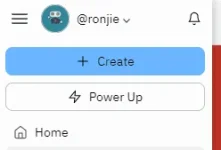
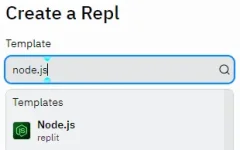
- Template: Node.js
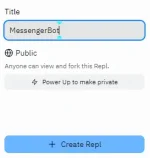
- Title: anything you like then click "Create Repl"
- open the download code then copy the script inside then paste it to your Repl. you can edit previousResponses to anything you like or you can change my name into your name
- In the shell tab: type the following code:
Code:npm install E×ρréšš Code:
Code:npm install actions-on-google Code:
Code:npm install dialogflow-fulfillment --force
- copy your own fork link

- Create an account to Dialogflow
- Go to Fullfilment
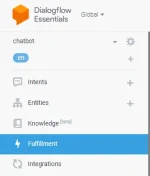
- Enable Webhook
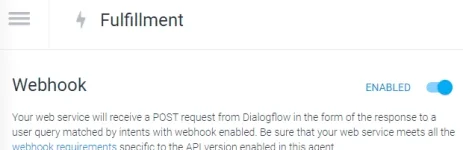
- Paste your fork link to the URL *note add /dialogflow at the end

- Click the gear icon
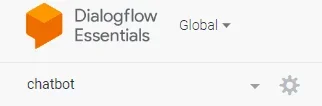
- Click the Project ID name (mine is chatbot-veve)

- Click IAM and Admin

- Click Service Accounts

- Click Create Service Account

- Service Account Name: anything you like
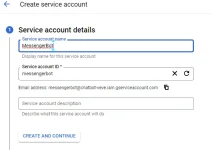
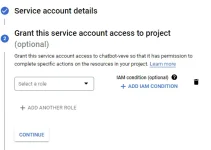
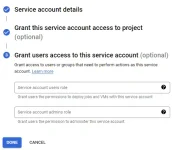 Click Done
 - Click your created service

- Click Keys

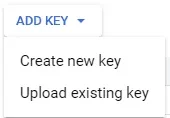
- Click ADD KEY
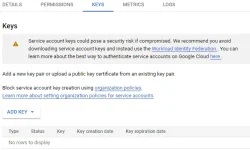
- Click Create new key
- Click Create
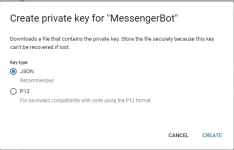
note: json file will be downloaded after you click create - Go to this link You do not have permission to view the full content of this post.
Log in or register now. then click Default Fallback Intent

- Under Fulfillment toggle Enable webhook call for this intent

- Click SAVE

- Go back to Intents then click Default Welcome Intent

- Under Fulfillment toggle Enable webhook call for this intent
- Create a Rule by click the + button
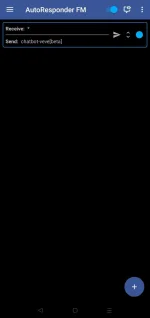
- Follow the settings
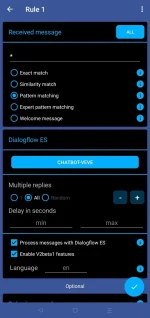
- Click Import JSON KEY then click CONTINUE
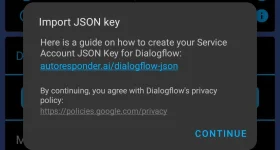
- Upload the JSON file you downloaded from Dialogflow
see attached video¹ - Sample output
see attached video² - Check if webhook is actually working in Dialogflow.
see attached video³ - Check if AutoResponder is working.