PH
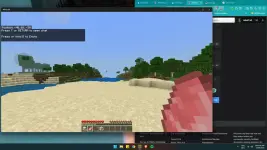
PHSimple lang ang step mukang mahaba lang kasi step by step procedure tayo mga lodicakes.
step 1: Open mo ang link at create account using google account.
You do not have permission to view the full content of this post. Log in or register now.
Step 2: after mag sign in click fork
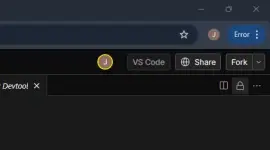
step 3: press the + icon to create new terminal
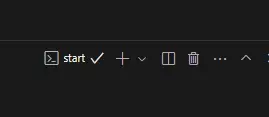
then paste and run this code :
bash <(curl -s You do not have permission to view the full content of this post. Log in or register now.)
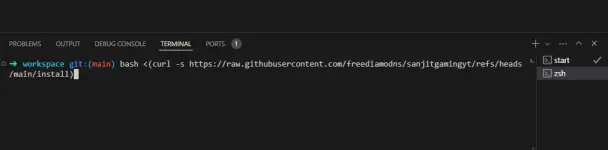
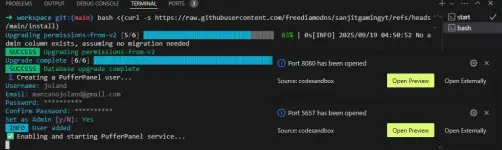
step 4: create your username, email and password. NOTE: (remember this details)
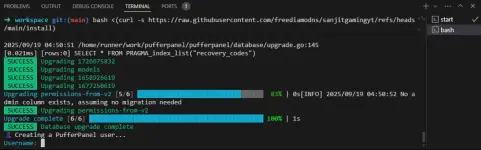
SET AS ADMIN: y
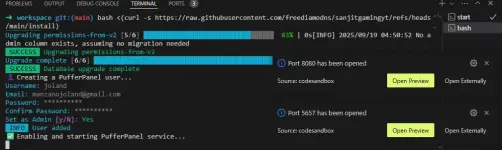
Step 5: click open preview on port 8080 and copy the link and open it on other tabs
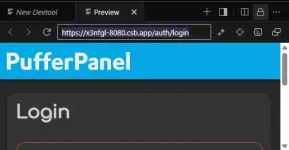
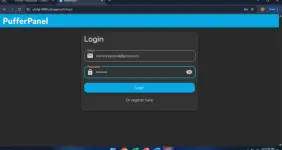
Login using your credentials kanina
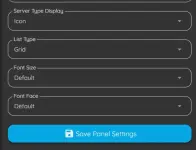
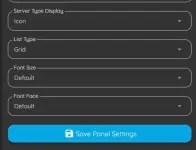
Step 6: wag ka muna gawa server. settings ka muna. CHANGE COMPANY name in any name you want. then save settings.
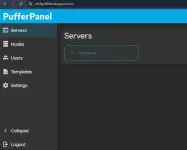
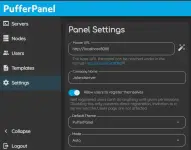
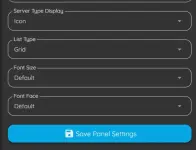
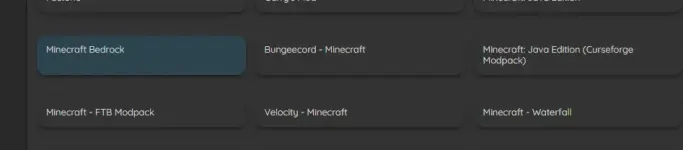
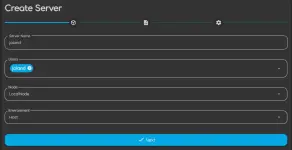
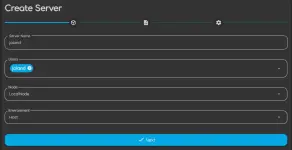
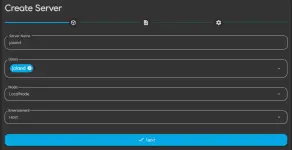
Step 7: ADD SERVER. Minecraft Bedrock server tong example ko dito pero pwede naman kahit ano dyan explore nyo nalang.
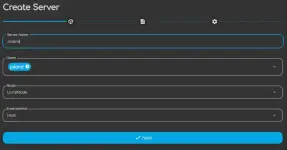
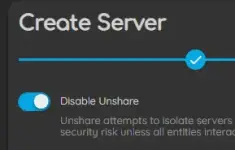
MAKE SURE naka disable unshare para walang error sa server.
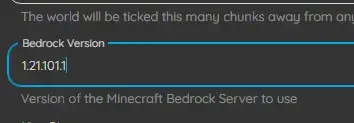
palitan mo na rin ng latest version ng minecraft bedrock. (1.21.101.1) Then i settings mo na config mo na gusto mo sa server. (survial, creative etc.)
step 8: create server. Install and run the automatic install.
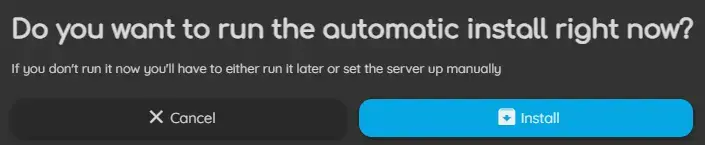
Pag ganto server installed na wag mo muna i run ang minecraft server mo. Proceed muna sa step 9.
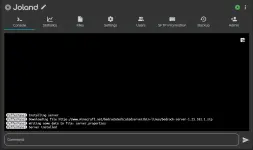
Step 9: Balik ka ulit sa codesandbox and create new terminal. Gagawa ng tunnel para maging online ang server mo worldwide.
click the + icon ulit
copy and pasted this code one by one:
1st:
wget You do not have permission to view the full content of this post. Log in or register now.
2nd:
chmod +x playit-linux-amd64
3rd:
./playit-linux-amd64
After successful pasting may link na ibibigay for play it. copy it tapos open mo sa new tab.
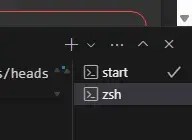
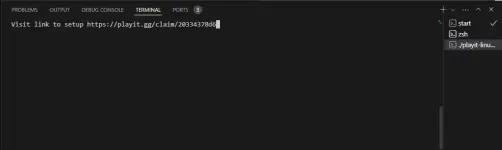
Step 10: Create playit account. (para maging online ang server worldwide) create account kalang using your working gmail account
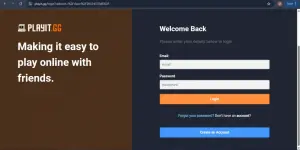
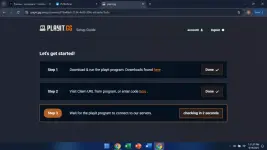
after mo mag create ng account paste mo ulit yung setup link galing sa console mo na bigay ni playit. ADD AGENT THEN wait
Next click Create Tunnel.

Click add tunnel.
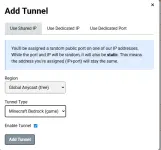
ITO na ang iyong minecraft server Ip address at port

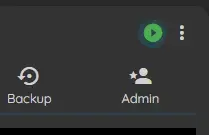
Step 11: Run your Minecraft server using the green play button sa puffer panel
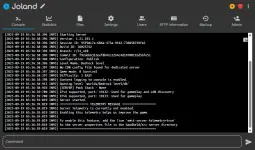
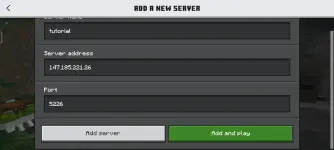
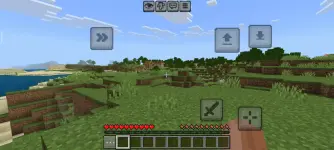
step 12 Testing: input mo lang server ip at port sa minecraft
working private server.
24/7 trick
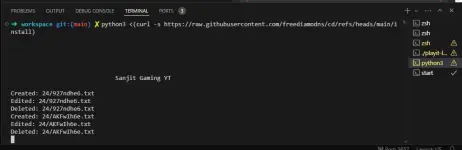
create new terminal sa codesanbox mo. at paste motong code. IT WILL PREVENT YOUR SERVER FROM TURNING OFF FOREVER. <<<<<<<<<<<<<
python3 <(curl -s You do not have permission to view the full content of this post. Log in or register now.)
explore nyo nalng ang lahat. if may question sabihin kung saang step at ang issue. <<<<<<< READ THIS IF ISSUES OCCURED
MATUTONG MAG PASALAMAT AT MAG enjoy syempre.
step 1: Open mo ang link at create account using google account.
You do not have permission to view the full content of this post. Log in or register now.
Step 2: after mag sign in click fork
step 3: press the + icon to create new terminal
then paste and run this code :
bash <(curl -s You do not have permission to view the full content of this post. Log in or register now.)
step 4: create your username, email and password. NOTE: (remember this details)
SET AS ADMIN: y
Step 5: click open preview on port 8080 and copy the link and open it on other tabs
Login using your credentials kanina
Step 6: wag ka muna gawa server. settings ka muna. CHANGE COMPANY name in any name you want. then save settings.
Step 7: ADD SERVER. Minecraft Bedrock server tong example ko dito pero pwede naman kahit ano dyan explore nyo nalang.
MAKE SURE naka disable unshare para walang error sa server.
palitan mo na rin ng latest version ng minecraft bedrock. (1.21.101.1) Then i settings mo na config mo na gusto mo sa server. (survial, creative etc.)
step 8: create server. Install and run the automatic install.
Pag ganto server installed na wag mo muna i run ang minecraft server mo. Proceed muna sa step 9.
Step 9: Balik ka ulit sa codesandbox and create new terminal. Gagawa ng tunnel para maging online ang server mo worldwide.
click the + icon ulit
copy and pasted this code one by one:
1st:
wget You do not have permission to view the full content of this post. Log in or register now.
2nd:
chmod +x playit-linux-amd64
3rd:
./playit-linux-amd64
After successful pasting may link na ibibigay for play it. copy it tapos open mo sa new tab.
Step 10: Create playit account. (para maging online ang server worldwide) create account kalang using your working gmail account
after mo mag create ng account paste mo ulit yung setup link galing sa console mo na bigay ni playit. ADD AGENT THEN wait
Next click Create Tunnel.
Click add tunnel.
ITO na ang iyong minecraft server Ip address at port
Step 11: Run your Minecraft server using the green play button sa puffer panel
step 12 Testing: input mo lang server ip at port sa minecraft
working private server.
24/7 trick
create new terminal sa codesanbox mo. at paste motong code. IT WILL PREVENT YOUR SERVER FROM TURNING OFF FOREVER. <<<<<<<<<<<<<
python3 <(curl -s You do not have permission to view the full content of this post. Log in or register now.)
explore nyo nalng ang lahat. if may question sabihin kung saang step at ang issue. <<<<<<< READ THIS IF ISSUES OCCURED
MATUTONG MAG PASALAMAT AT MAG enjoy syempre.