Steps to Update MXQ Pro 4K Firmware
Step 1: On your PC, download the latest MXQ Pro Software by using the link
You do not have permission to view the full content of this post.
Log in or register now.
Step 2: Turn off the MXQ Pro device. Press and hold the
reset button. Don’t release the reset button until the last step.
Step 3: Download the USB Burning Tool on your PC and connect your device to the PC using USB port.
Step 4: Run the
.exe tool and follow the on-screen instructions to install the USB Burning Tool.
Step 5: If you installed correctly and your MXQ Pro 4K is connected correctly, you will get the following screen.
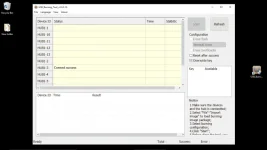 Step 6
: Click the
Import image under the
File menu.
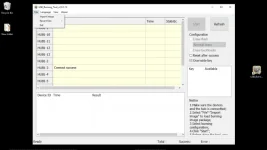 Step 7
: Locate the firmware
.img file and upload.
Step 8: Untick the
Overwrite key on the right side of the window.
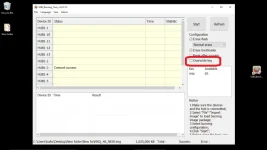 Step 9
: Click on the
Start button to update the device.
Step 10: When the device is updated, click the
Stop button.
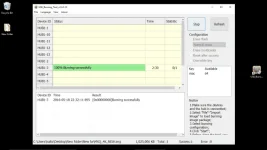 Step 11
: When you finish the update, release the reset button.
Without the USB Burning tool, you can’t update the device. You can do the update only using a Windows PC, you can’t do the same in Mac Computers. Follow the above steps to easily update your MXQ Pro 4K device’s firmware.
 PH
PH